Accessing ArcGIS
Accessing ArcGIS
Accessing ArcGIS
The GPS department provides the students and employees of Rowan University with license to use Esri's suite of geospatial tools.
Accessing your ArcGIS Online account
- Visit https://rowanuniversity.maps.arcgis.com/
- Click "Sign In" at the top right
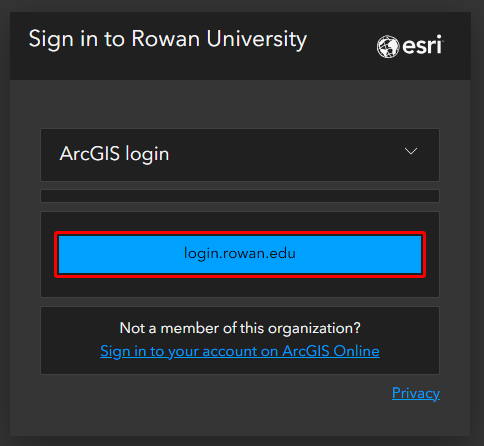
- Select "login.rowan.edu" in the center of the page
- Log in using your Rowan credentials
That's it! An ArcGIS Online account will automatically be created for you on your first login.
Installing ArcGIS Pro
Note: ArcGIS Pro is only available on Windows.
- Sign in to https://rowanuniversity.maps.arcgis.com/ (see above)
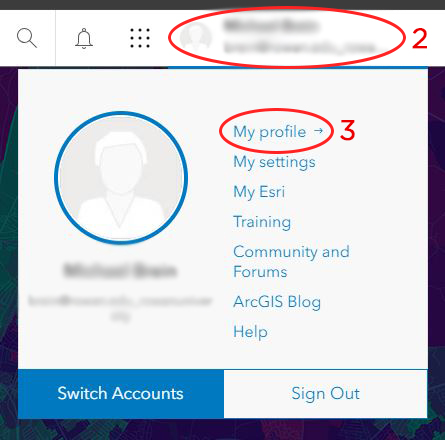
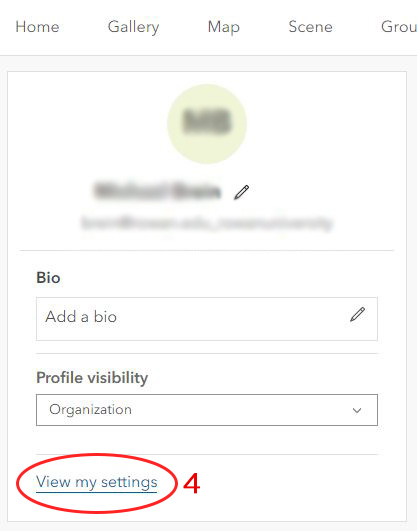
- Click your name at the top right of the screen
- Click on My profile
- Click View my settings
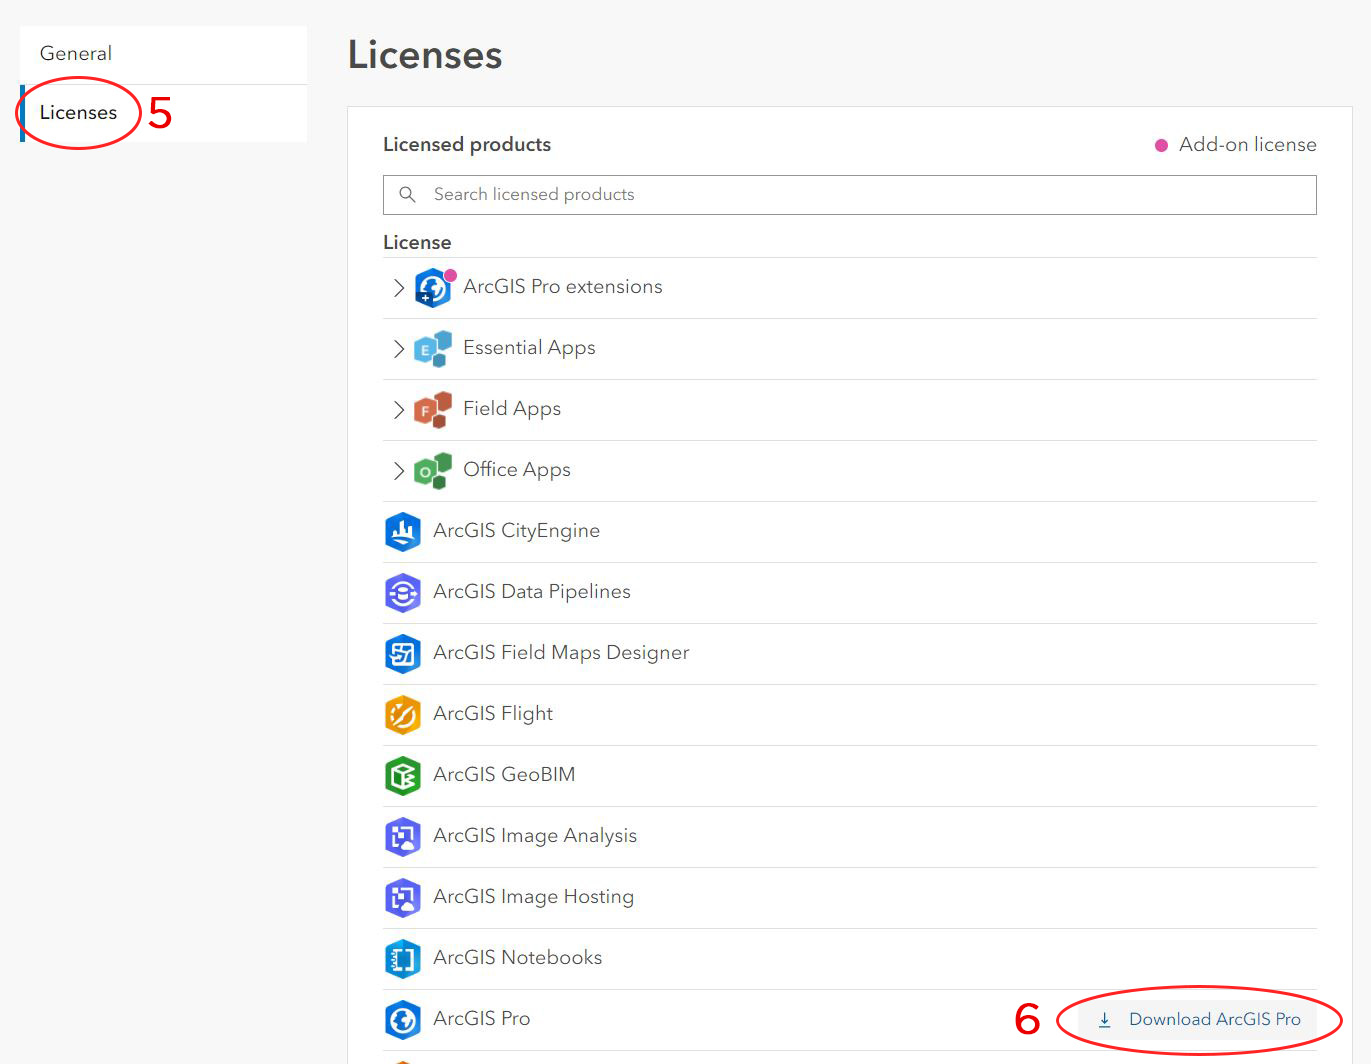
- Click Licenses
- Scroll down and click Download ArcGIS Pro
- Open the ArcGIS Pro .exe when it finishes downloading
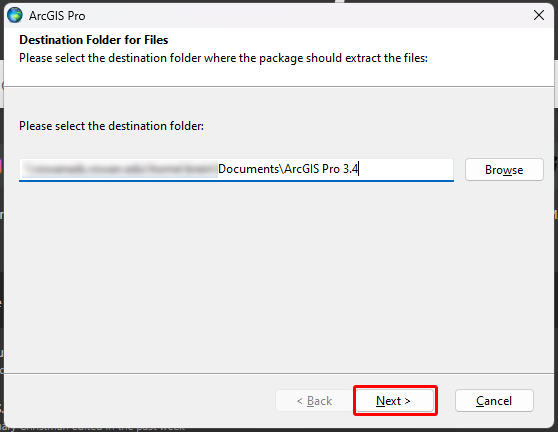
- Click Next
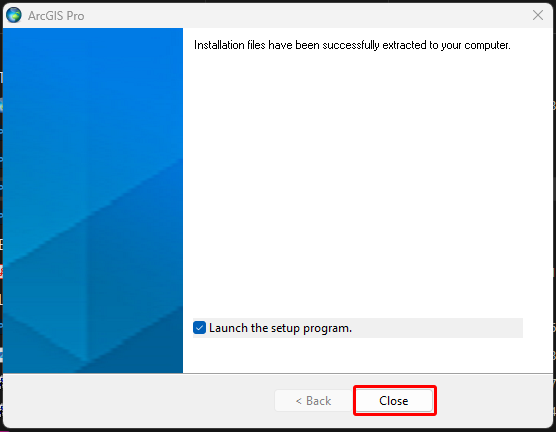
- Click Close to launch the setup program
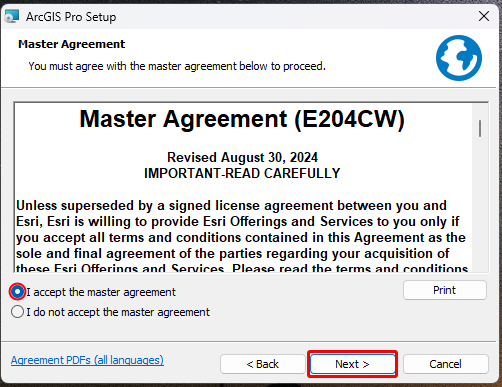
- Follow through the prompts by clicking Next, making sure to accept the master agreement
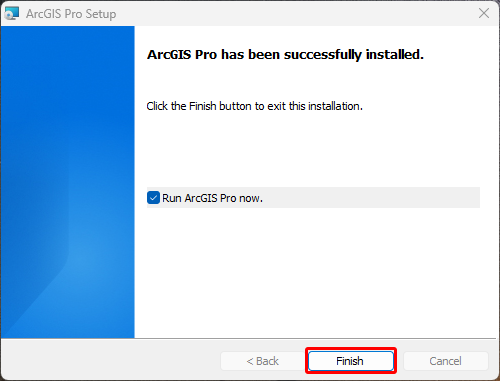
- Click Finish
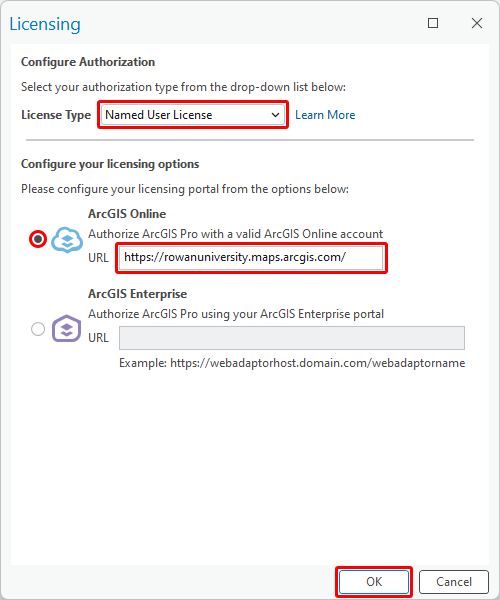
Configure ArcGIS Pro Licensing
- Open ArcGIS Pro
- With ArcGIS Pro open, navigate to Configure Licensing
- Select Named User License as the License Type
- Select ArcGIS Online
- Add https://rowanuniversity.maps.arcgis.com/ as the URL
- Click OK
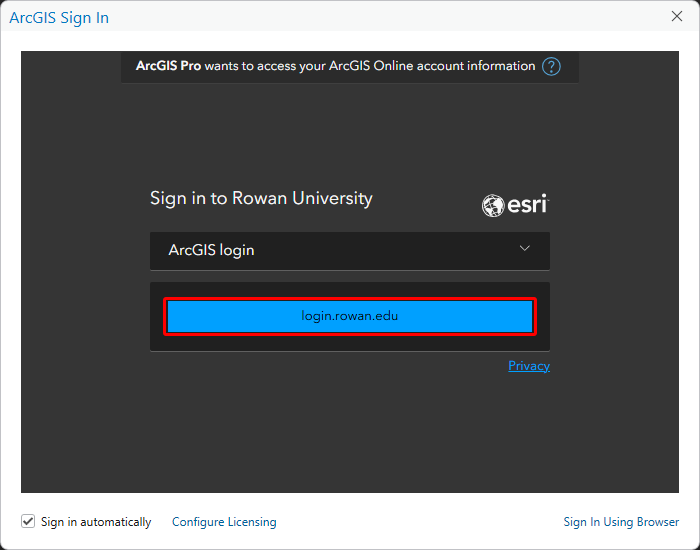
- When prompted to log in, make sure to click the login.rowan.edu option
- Log in using your Rowan University credentials